How to Enable/Disable Two Factor Authentication (2FA) for NetHosted Client Area Login
To Enable Two Factor Authentication on cPanel you'll need to first download the Google Authenticator App or equivalent such as Duo Security, Authy on a mobile device that is supported. *Please Note that to login with two-factor authentication you'll require the mobile device to retrieve the authentication code.
1. From the Client Area, go to Hello, Name! > Security Settings in the top right.
2. Click "Click here to Enable"

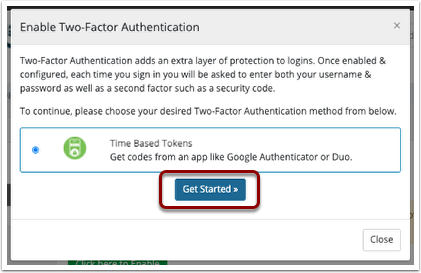
3. Click "Get Started".
3. On your Google Authenticator App click the + Symbol in the top right and select "Scan Barcode". You should then aim your phone at the QR code on your screen and wait for it to list your server and username in the authenticator list.
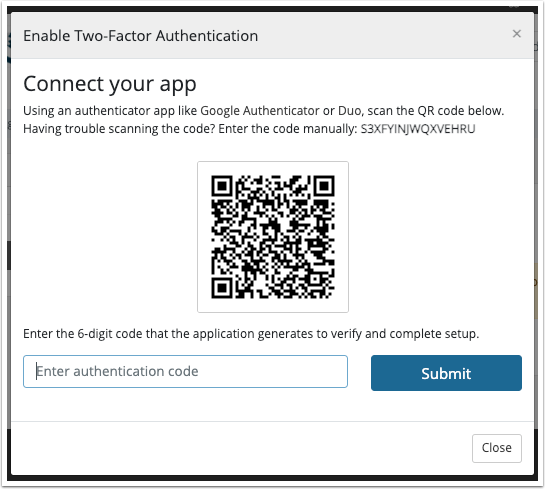
4. A six digit security code will be given in the Google Authenticator App, you then need to enter this when prompted.
5. Your Backup Code will be shown, we recommend saving this securely in a password manager in case your device is lost, it will allow recovery on a new device.

Two Factor Authentication is now enabled on your account, next time you login with your username and password you'll be prompted to enter the security code generated by the app.
To Disable the Two Factor Authentication for your NetHosted Client Area you'll need to follow these steps:
1. From the Client Area, go to Hello, Name! > Security Settings in the top right.
2. Click "Click here to Disable", you will be prompted for your Client Area password.
Two Factor Authentication is now disabled on your account and wont be required to login unless setup again.
